Time-of-Flight Diffraction Ultrasonic Testing ( TOFD)
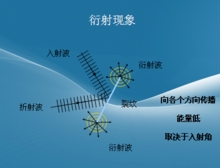
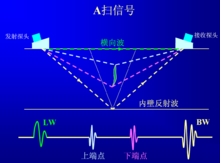
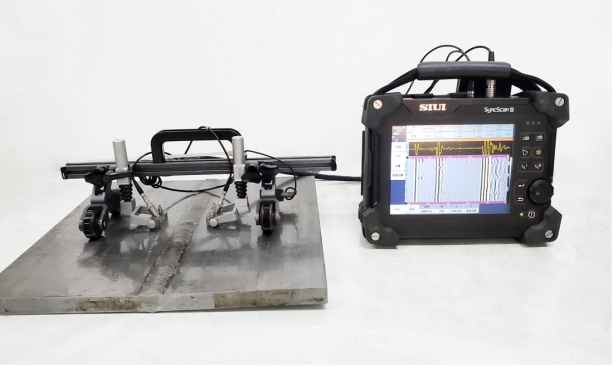
Principle : TOFD technology uses two broadband narrow pulse probes for detection, one sending and one receiving, and the probes are arranged symmetrically with respect to the center line of the weld. The transmitting probe generates an unfocused longitudinal wave beam incident on the workpiece at a certain angle, part of the beam propagates along the near surface and is received by the receiving probe, and part of the beam is reflected by the bottom surface and then received by the probe. The receiving probe determines the position and height of the defect by receiving the diffraction signal of the defect tip and its time difference.


Scope of application : Butt welds above 12mm, especially suitable for welding seams of various pressure-bearing equipment with large thickness. In particular, the self-height measurement of defects in in-service equipment has its unique advantages.
Advantages :
( 1) One scan can cover almost the entire weld area (except the upper and lower surface blind areas), which can achieve very high detection speed; ( 2) The reliability is better, and the detection rate of defects in the middle of the weld is very high; ( 3) Can Found various types of defects, not sensitive to the direction of defects; ( 4) Defects extending to the surface can be identified; ( 5) Using D-scan imaging, defect interpretation is more intuitive; ( 6) Quantification and positioning of the vertical direction of defects Very accurate, the accuracy error is less than 1mm; ( 7) When combined with the pulse reflection method, the detection effect is better, and the coverage rate is 100%;
Limitations :
(1) There is a blind area near the surface, and the detection reliability of this area is not enough ( 2) It is difficult to characterize the defects ( 3) It requires rich experience in image interpretation ( 4) It is difficult to detect lateral defects ( 5) For coarse-grained materials, it is difficult to detect defects. It is difficult to detect ( 6) It is difficult to measure workpieces with complex geometric shapes ( 7) It is not suitable for T-weld inspection

Our company currently has a professional team of senior engineers and engineers. The main inspectors are composed of a team of engineers who have been engaged in non-destructive testing for many years, with strong technical ability and rich experience. All inspectors have professional inspection qualifications, including non-destructive testing (ASNT/ISO9712 II/III and national special equipment non-destructive testing qualification II/III), American Association for Materials Performance and Protection (AMPP-Coatings Inspector/Senior Coatings Inspector), welding inspection (CWI, SCWI), International Welding Engineer IWE, API 653, API 510, API 570, API 571, API Quality Engineer, Senior Mechanical Engineer, etc.
The following inspection services can be provided for enterprises:
Penetrant Testing (PT), Magnetic Particle Testing (MT), Ultrasonic Testing (UT), Phased Array (PAUT), Time-of-Flight Diffraction (TOFD), Radiographic Testing (RT), Visual Testing (VT), Eddy Current Testing (ECT), Leak Testing (LT), Magnetic Leakage Detection (MFL), Acoustic Emission Detection (AE), Digital Imaging (DR), Real-time Imaging Detection (CR), Alternating Current Field Measurement (ACFM), etc.